
Artist Statement
Building this pop art Tile was not an easy task and brought many difficulties for me along the way. The first thing we did in the process of making this Tile was to wedge the clay. Wedging being a newer process to me took a little while to get the hang of. We use wedging as a process to get the air bubbles out of the clay so the Tile will not explode in the Kiln. The next step was to role out the tile to a good thickness and smooth out the edges. This step was probably my favorite because it was very calming and I had a very zen moment smoothing out the wet clay. This is where the process for actually carving started.
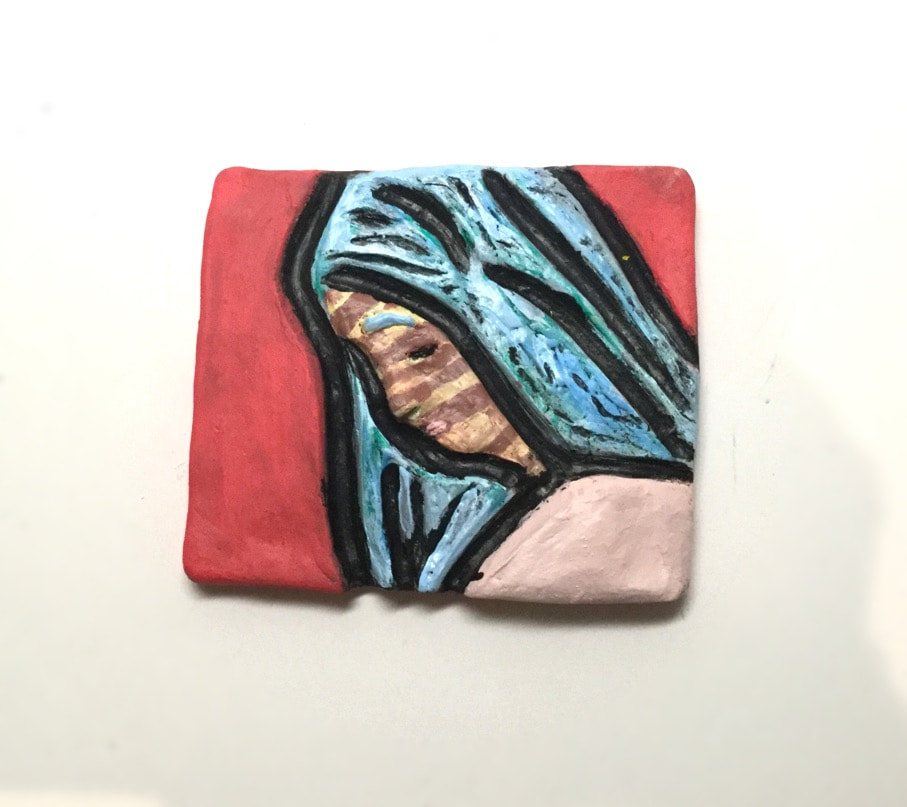
The first step in carving and starting to transfer my portrait onto the tile itself was a fairly easy task. I started by tracing over the portrait that had been printed for me beforehand. I had to decide what I did and didn't want to be transferred onto my tile. I decided to do quite a few lines and highlights that were in my original portrait. After transferring it onto the clay, I started carving out the lines now on my clay and tried to clean up and have good craftsmanship along the way.
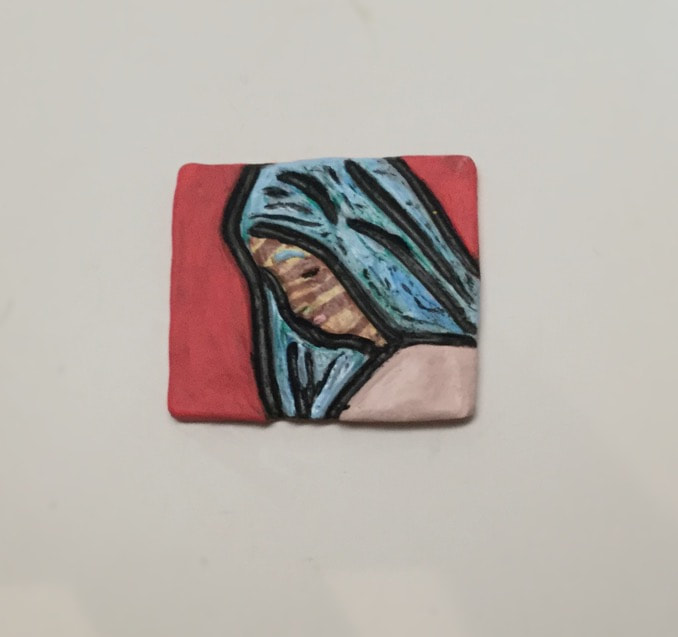
The last process in this project for me was accomplishing our task of having 3 additives and 3 subtractive features. Deciding what would look right and wrong was an adventure and sort of a trial and error. I went for a more abstract look with this portrait tile because I knew my capabilities to make the clay look realistic would be very challenging for me. I ended up adding a nose which was a fun but frustrating process for me. It was fun when it actually started to work but frustrating when it wouldn't corporate with me and what I had envisioned. Overall I am proud of the work I achieved and the final results of my Pop Portrait Tile.
The first step in carving and starting to transfer my portrait onto the tile itself was a fairly easy task. I started by tracing over the portrait that had been printed for me beforehand. I had to decide what I did and didn't want to be transferred onto my tile. I decided to do quite a few lines and highlights that were in my original portrait. After transferring it onto the clay, I started carving out the lines now on my clay and tried to clean up and have good craftsmanship along the way.
The last process in this project for me was accomplishing our task of having 3 additives and 3 subtractive features. Deciding what would look right and wrong was an adventure and sort of a trial and error. I went for a more abstract look with this portrait tile because I knew my capabilities to make the clay look realistic would be very challenging for me. I ended up adding a nose which was a fun but frustrating process for me. It was fun when it actually started to work but frustrating when it wouldn't corporate with me and what I had envisioned. Overall I am proud of the work I achieved and the final results of my Pop Portrait Tile.
|
|
